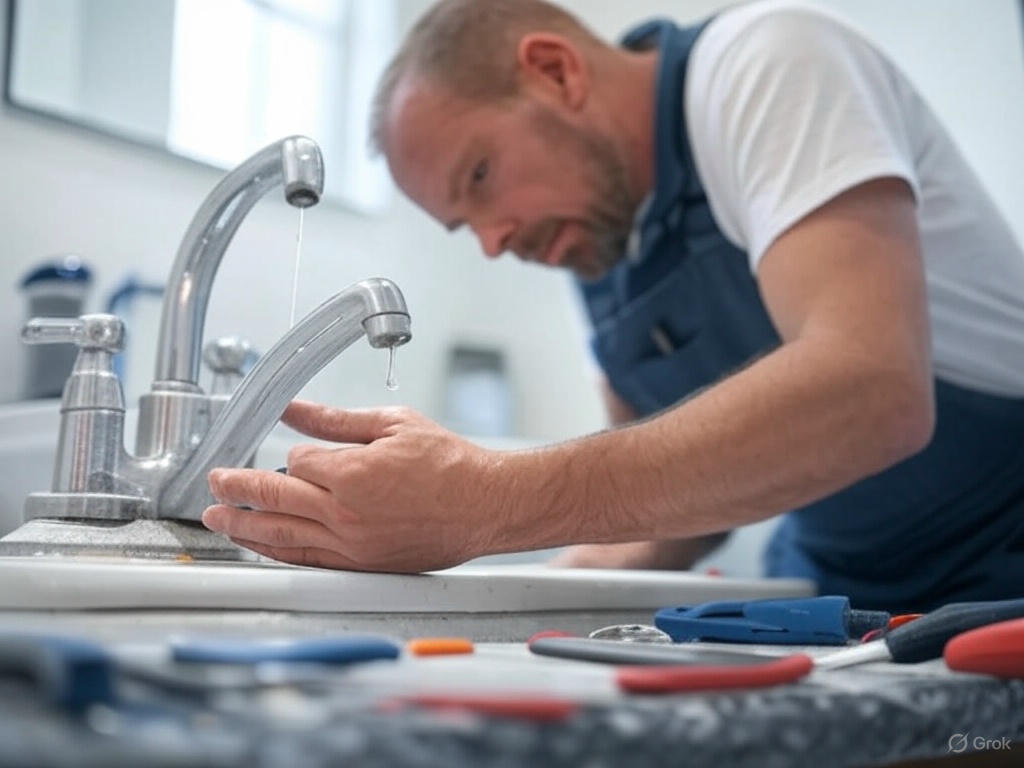
A leaky faucet may seem like a minor issue, but it’s something that can cost you both in terms of water wastage and money. A slow drip may not appear to be a big deal at first, but over time, those drops add up—potentially wasting hundreds of gallons of water and increasing your water bill. Thankfully, fixing a leaky faucet is one of the easiest home repairs you can tackle, and it doesn’t require professional help. In this guide, we’ll show you how to fix leaky faucets, save water, and ultimately reduce your utility bills.
Why Fixing a Leaky Faucet Is Important
Before diving into how to fix a leaky faucet, let’s first look at why it’s essential to address the issue as soon as you notice it.
1. Water Conservation: A leaky faucet can waste a surprising amount of water. The average faucet leak wastes about 3,000 gallons of water per year. In areas where water conservation is critical, addressing leaks is an essential step toward reducing overall water usage.
2. Cost Savings: Wasting water means higher water bills. Even if it’s just a small drip, over time, the cumulative effect can result in significant charges. Fixing your leaky faucet will save you money on your monthly water bills.
3. Preventing Further Damage: Leaks often get worse over time. If a faucet continues to leak without repair, it can cause further damage to your plumbing system, resulting in more expensive repairs down the road.
4. Environmental Impact: Reducing water waste helps conserve natural resources. With growing concerns over climate change and the depletion of freshwater sources, every effort to save water counts.
Now that we understand the importance of fixing leaky faucets, let’s walk through the process of fixing one and saving water.
How to Fix a Leaky Faucet: A Step-by-Step Guide
Fixing a leaky faucet isn’t as difficult as you might think. Most of the time, the issue is due to a worn-out washer, o-ring, or cartridge. Here’s how to fix it yourself in just a few simple steps:
Step 1: Turn Off the Water Supply
Before starting any repairs, make sure to turn off the water supply to the faucet. Look for the shut-off valves beneath the sink and turn them clockwise to close them. If your sink doesn’t have individual shut-off valves, you may need to turn off the main water supply to your house.
Step 2: Plug the Drain
Use a sink plug or a rag to block the drain. This is an important step to prevent any small parts from falling down the drain as you disassemble the faucet.
Step 3: Identify the Type of Faucet
There are several different types of faucets, and each one has a different mechanism. The most common types of faucets are:
– Compression Faucets: These have two handles, one for hot water and one for cold. They use rubber washers to control the flow of water.
– Ball Faucets: Found mostly in kitchen sinks, these faucets have a single handle and a rotating ball to control the water flow.
– Cartridge Faucets: These have either one or two handles, and they use a cartridge to regulate water flow and temperature.
– Ceramic Disk Faucets: These modern faucets use a ceramic disc to control water flow and temperature.
Knowing the type of faucet will help you determine how to disassemble it and identify the problem.
Step 4: Disassemble the Faucet
Once you’ve identified your faucet type, use a screwdriver or wrench to remove the handle. Depending on the type of faucet, you may need to remove additional parts, such as the decorative cap or the valve cover.
– For Compression Faucets: You’ll need to remove the handle, then use a wrench to loosen the packing nut and remove the stem. Inspect the rubber washer at the base of the stem for wear or damage. If the washer looks cracked, frayed, or hard, it needs to be replaced.
– For Ball Faucets: Remove the handle and the cap to access the ball valve. You may need a special tool to remove the ball assembly. Inspect the rubber seals around the ball for signs of wear or damage.
– For Cartridge Faucets: Remove the handle and the retaining clip to access the cartridge. Pull the cartridge out of the faucet body and inspect it for any cracks or defects.
– For Ceramic Disk Faucets: Remove the handle and the cover plate to access the ceramic disk cartridge. Check the ceramic disks for any damage, wear, or debris buildup.
Step 5: Inspect the Parts
Carefully inspect the internal parts, such as washers, O-rings, and cartridges. These are typically the components that wear out and cause leaks. If you notice any damage, it’s time to replace them.
– Rubber Washers: Over time, rubber washers can crack, harden, or become misshapen, which leads to leaks. Replace these with new washers of the same size.
– O-Rings: These small rubber rings are responsible for creating a seal between moving parts. If they’re worn or damaged, they can cause leaks around the handle or base of the faucet. Replacing O-rings is a simple fix that can save water and prevent further issues.
– Cartridges: If your faucet uses a cartridge (like a cartridge faucet or ball faucet), and the cartridge is worn out or damaged, you’ll need to replace it with a new one. You can usually find the correct replacement cartridge at your local hardware store.
Step 6: Reassemble the Faucet
After replacing the necessary parts, carefully reassemble the faucet in the reverse order of disassembly. Tighten all the parts securely, but avoid overtightening, which could damage the components.
Step 7: Turn the Water Back On
Once the faucet is reassembled, turn the water supply back on and test the faucet for leaks. Turn the handles to ensure that the faucet is operating properly and that the leak is completely gone.
Step 8: Check for Further Leaks
Let the faucet run for a few minutes, checking carefully for any remaining leaks. If the leak persists, recheck your repairs or consult a professional plumber.
Additional Tips to Prevent Leaky Faucets
While fixing a leaky faucet is important, taking steps to prevent future leaks will save you even more money and water. Here are some tips to help prevent future issues:
1. Use the Right Tools: When making repairs, use the proper tools and replacement parts. Using incorrect parts or tools can lead to damage and further leaks.
2. Don’t Over-tighten: Over-tightening faucets can wear out the internal components more quickly. Tighten the faucet just enough to create a good seal.
3. Use Faucet Covers: For outdoor faucets, consider using faucet covers during the colder months to prevent damage from freezing temperatures. This can help avoid leaks caused by cracked pipes or valves.
4. Install Water-Efficient Faucets: If your faucets are older or constantly leaking, consider upgrading to water-efficient models. Low-flow faucets use less water without sacrificing performance and can save you money on your water bills.
5. Perform Regular Inspections: Take the time to inspect your faucets every few months. Look for signs of wear, rust, or leaks, and fix any issues before they worsen.
How Fixing Leaky Faucets Saves Water
The environmental benefits of fixing leaky faucets are significant. The average leaky faucet wastes about 3,000 gallons of water each year—equivalent to around 180 showers. By addressing the problem, you’ll not only save money on your water bill but also reduce your overall environmental footprint.
Here’s a quick breakdown of how fixing a leaky faucet helps conserve water:
– A single drip per second wastes up to 3,000 gallons per year.
– Fixing a leaky faucet can save an estimated $50 per year on your water bill.
– You can help conserve water for future generations, especially in areas facing drought conditions or limited water supply.
Conclusion
Fixing a leaky faucet is an easy and cost-effective way to save both water and money. By learning how to fix your faucet and keeping up with regular maintenance, you can prevent unnecessary water waste, reduce your utility bills, and contribute to environmental conservation. Whether you’re dealing with a slow drip or a steady stream, addressing leaks promptly will pay off in the long run. So, the next time you hear that annoying drip, grab your tools and get to work—you’ll save more than just water!