Looking to spruce up your home with a few quick and easy DIY projects? Whether you’re a seasoned DIY enthusiast or just starting, transforming your space doesn’t have to take weeks or cost a fortune. With a bit of creativity and effort, you can complete several stylish home decor projects over the course of a weekend. Here are some fun and functional ideas that will breathe new life into your home in just two days.
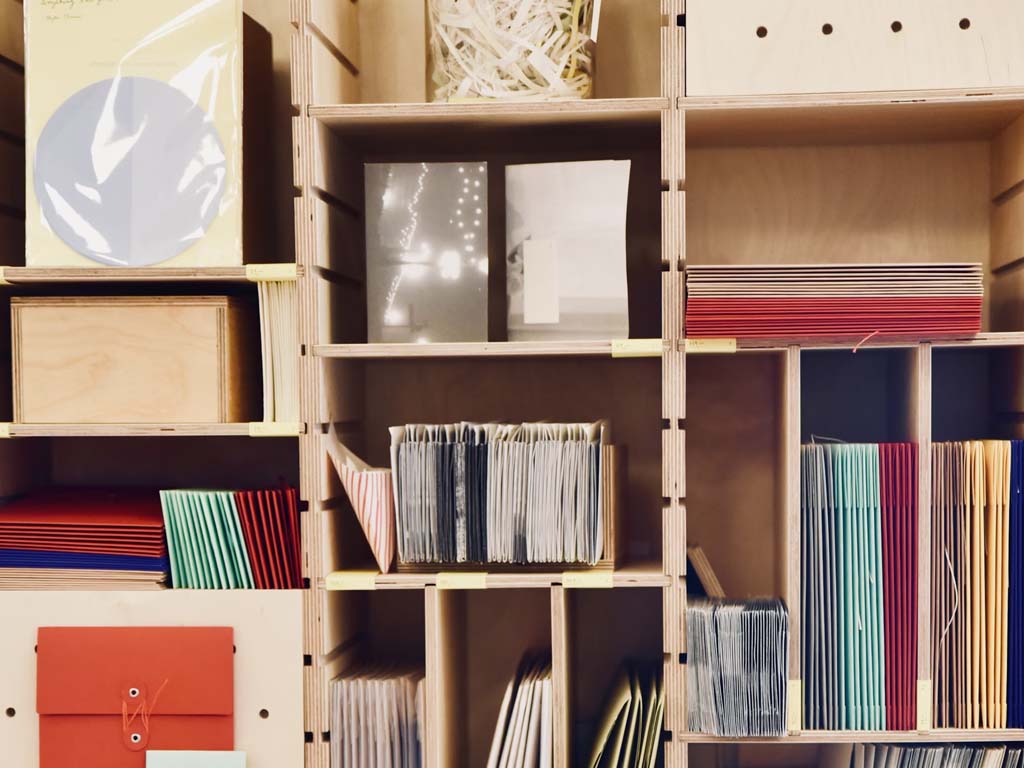
1. Rustic Floating Shelves
Floating shelves are a great way to add both function and style to your home. They can be used to display books, plants, or decorative pieces. With just a few basic tools and materials, you can create rustic floating shelves that add a contemporary touch to any room.
Supplies Needed:
– Wooden boards (cut to size)
– Brackets or metal pipes for the floating effect
– Screws and wall anchors
– Drill and screwdriver
Instructions:
1. Measure and cut your wooden boards to the desired length.
2. Sand the boards for a smooth finish, and stain or paint them to match your decor.
3. Install the brackets or metal pipes on the wall, ensuring they are level.
4. Slide the wooden shelves onto the brackets and secure them.
Tip: These shelves look great in living rooms, kitchens, or bathrooms. You can even get creative by using old crates or reclaimed wood for a more rustic look.
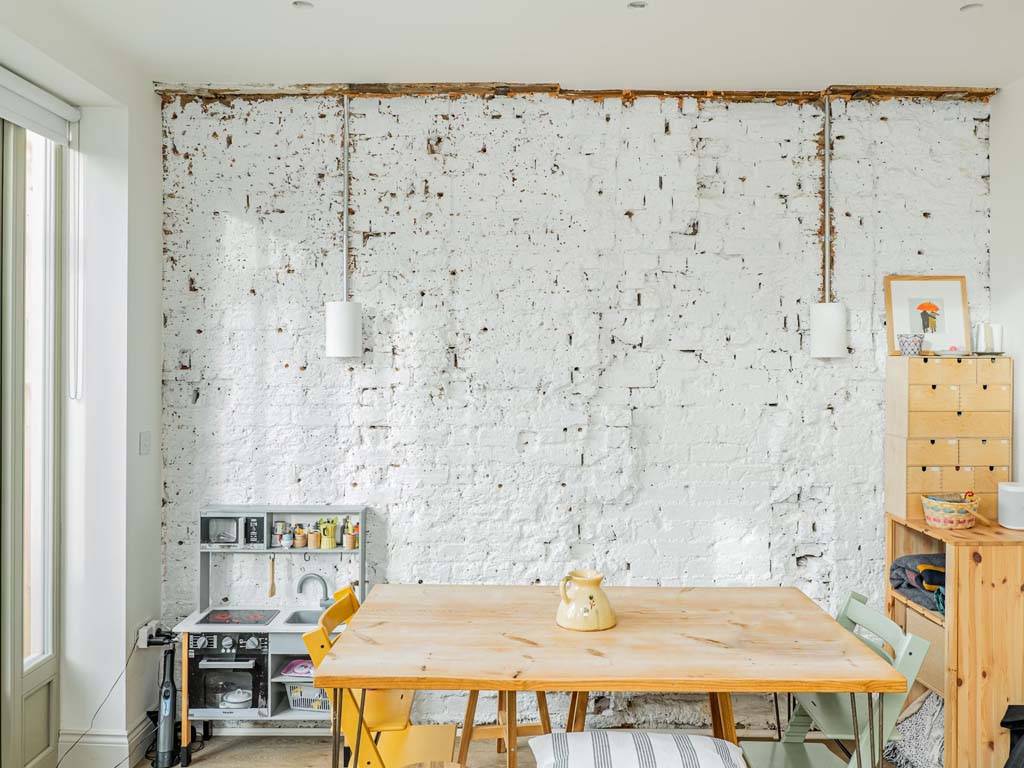
2. Statement Wall with Peel-and-Stick Wallpaper
If you’re not keen on the commitment of traditional wallpaper, peel-and-stick wallpaper is an easy and temporary way to add a statement wall to any room. It’s easy to apply and remove, making it perfect for renters or those who like to change things up frequently.
Supplies Needed:
– Peel-and-stick wallpaper (choose a pattern or color that complements your room)
– Measuring tape
– Scissors or utility knife
– Squeegee or wallpaper smoothing tool
Instructions:
1. Measure the area where you want to apply the wallpaper.
2. Cut the wallpaper to fit the wall, leaving a little extra at the edges for trimming.
3. Slowly peel the backing off the wallpaper and apply it to the wall, smoothing out air bubbles with a squeegee.
4. Trim the excess at the edges with a utility knife.
Tip: This project is perfect for accent walls in living rooms, bedrooms, or even bathrooms, and the possibilities for design are endless.
3. Customized Throw Pillows
Throw pillows are one of the easiest ways to refresh a room’s look. You can create your own custom pillows by picking out fabrics that match your personal style. Whether you choose bold prints, textured fabrics, or soft pastels, your throw pillows can be as unique as you are.
Supplies Needed:
– Fabric of your choice (cotton, velvet, linen, etc.)
– Pillow inserts
– Needle and thread (or sewing machine)
– Scissors
– Iron (optional)
Instructions:
1. Measure and cut fabric to fit the size of your pillow inserts (most standard pillow inserts are 18″ x 18″).
2. Fold the fabric edges inward and sew the sides together, leaving one side open for the pillow insert.
3. Once the pillowcase is sewn, insert the pillow, and sew the remaining side shut.
Tip: For an extra touch, consider adding decorative elements like pom-poms, tassels, or embroidery to personalize your pillows even more.
4. DIY Macramé Wall Hanging
Macramé wall hangings are trendy, boho-chic pieces that add texture and character to your walls. These timeless pieces are perfect for living rooms, bedrooms, or entryways, and can be made in various sizes and styles to suit your space.
Supplies Needed:
– Macramé cord (around 4mm thick)
– Wooden dowel or branch
– Scissors
– Measuring tape
Instructions:
1. Cut several lengths of macramé cord to the desired length for your wall hanging.
2. Use basic knots like the square knot or lark’s head knot to create a design. There are plenty of tutorials online to help with different knotting techniques.
3. Once you’ve created your desired pattern, trim the ends to your preferred length and shape.
4. Hang the finished piece on a wall hook or nail using the wooden dowel.
Tip: Experiment with different patterns, colors, or beads for added customization. Macramé is perfect for a cozy boho vibe or modern farmhouse aesthetic.
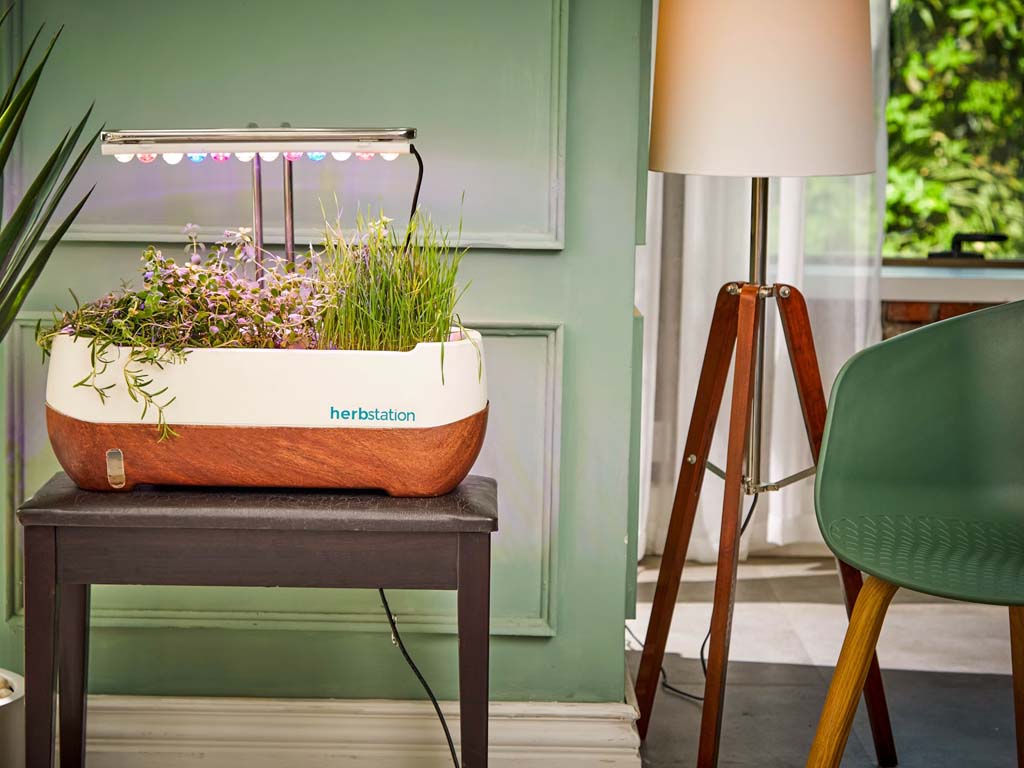
5. DIY Indoor Herb Garden
Not only do indoor herb gardens look charming, but they also add a practical touch to your kitchen. Fresh herbs are perfect for cooking, and with a DIY indoor garden, you’ll have them on hand year-round.
Supplies Needed:
– Small pots or mason jars
– Potting soil
– Herb seeds or small herb plants
– Gravel or pebbles (for drainage)
– Plant labels (optional)
Instructions:
1. Place a layer of gravel or pebbles in the bottom of each pot or jar to ensure good drainage.
2. Fill the pots with potting soil and plant your herbs according to the seed packet or plant instructions.
3. Place your herb garden in a sunny spot and water regularly.
4. Label each plant for easy identification, and enjoy your fresh herbs!
Tip: Consider using a tray to group your herb pots together for a more cohesive look. It’s also a great way to organize them on your kitchen windowsill.
6. Repurposed Wood Picture Frame Mirror
Transform a simple mirror into a statement piece by framing it with reclaimed wood or old picture frames. This project can add a rustic or vintage flair to any room and make your mirror the focal point of the space.
Supplies Needed:
– A round or square mirror
– Picture frames or reclaimed wood
– Glue (wood glue or strong adhesive)
– Saw (if necessary)
– Sandpaper
Instructions:
1. Measure the dimensions of your mirror and cut the picture frames or wood pieces to fit around it.
2. Sand the edges for a smooth finish, especially if you’re using reclaimed wood.
3. Apply glue to the back of the frame or wood pieces and attach them to the mirror.
4. Allow the glue to dry completely, and hang your new mirror.
Tip: For a more dramatic effect, you can create a layered look by overlapping multiple frames or wood pieces.
7. DIY Gallery Wall with Personal Photos
Create a personal and heartwarming gallery wall by framing your favorite photos, prints, or artwork. A gallery wall is an easy way to infuse your personality into a room and add visual interest.
Supplies Needed:
– Frames in various sizes
– Personal photos or artwork
– Tape measure
– Nails and hammer
Instructions:
1. Gather your favorite photos and frame them in different-sized frames for visual variety.
2. Use a tape measure to ensure the frames are hung evenly on the wall.
3. Arrange the frames on the floor first to visualize the layout before hanging them on the wall.
4. Secure the frames with nails or picture hooks.
Tip: Mix in some inspirational quotes, postcards, or even pressed flowers for a more eclectic gallery wall.
8. DIY Fabric Lampshade
A new lampshade can transform an entire light fixture. Rather than buying a new one, you can create a custom lampshade using fabric that complements your home’s decor. This is an easy weekend project that will give your lamps a whole new look.
Supplies Needed:
– A plain lampshade
– Fabric of your choice
– Scissors
– Hot glue gun
Instructions:
1. Cut the fabric to fit around the lampshade, leaving a little extra to overlap at the edges.
2. Use the hot glue gun to attach the fabric to the lampshade, starting at the top and working your way down.
3. Trim any excess fabric and glue the edges for a clean finish.
Tip: Choose a fabric with a pattern or texture that matches the vibe of the room, whether it’s cozy, modern, or traditional.
Final Thoughts
These DIY home decor projects are simple, cost-effective, and can completely refresh your living space in just one weekend. Whether you want to add functional elements like shelves or add some personality with a gallery wall or custom pillows, the possibilities are endless. The best part? You’ll not only enhance your home but also enjoy the satisfaction of creating something with your own hands. So grab your tools, get creative, and start transforming your space today!